
The last step involves transforming your draft into a captivating video to complete the finalization of your creation. Once satisfied with the outcome, you have the option to publish the final result through various means, including downloading it, embedding it into a webpage or LMS, and sharing it as a link or to your social accounts.
In this guide, you’ll learn:
- How to create a video preview
- Canceling Render
- Completed Preview
- Version History
- How to Publish Your Video
How to Create a Video Preview
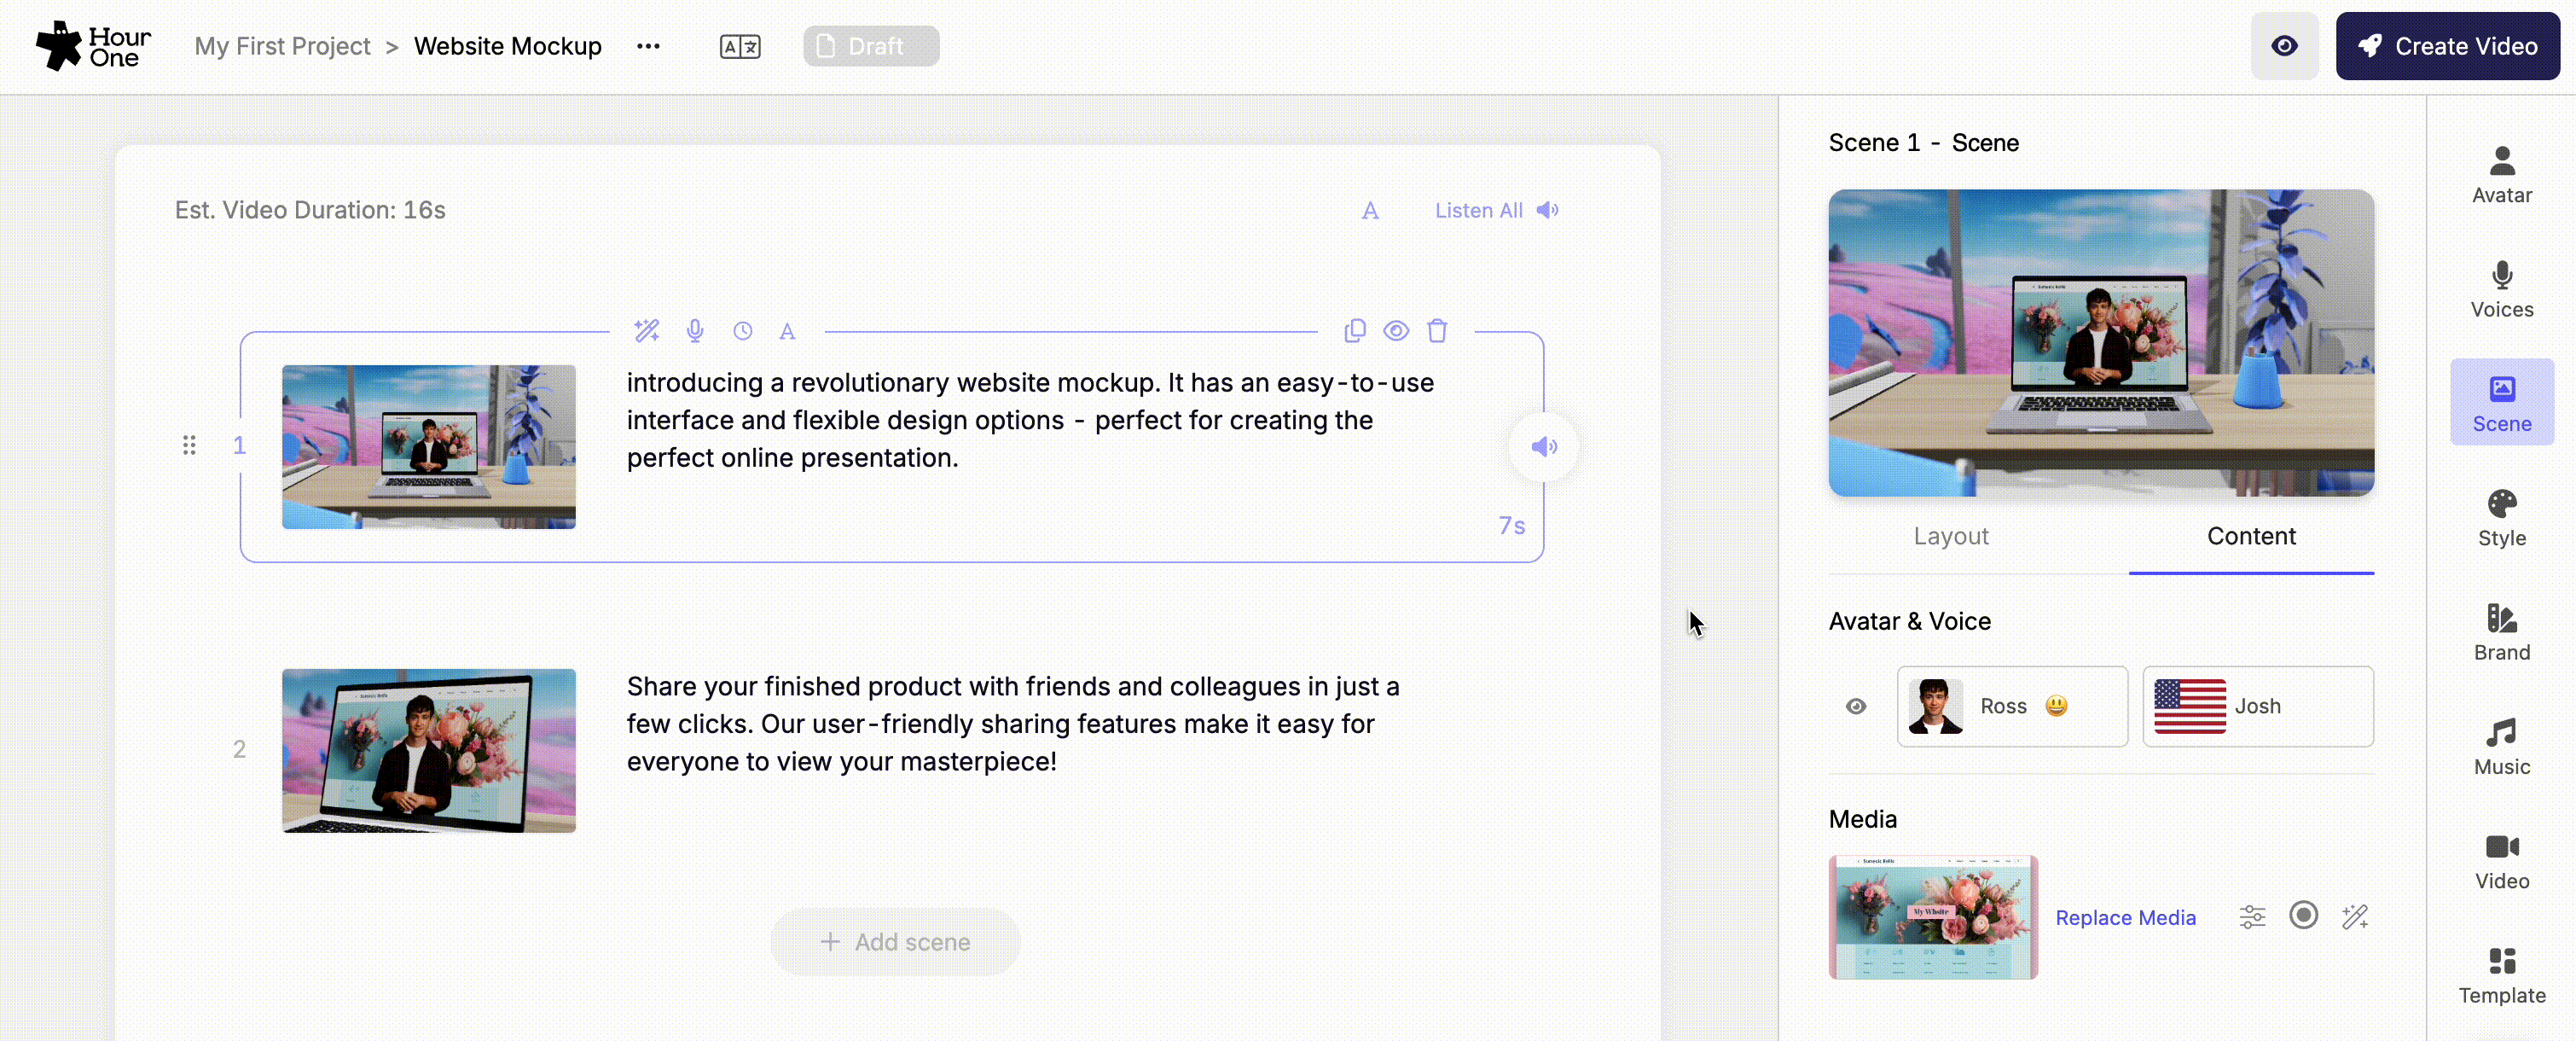
Once you’ve completed your draft, begin by generating a preview to assess its readiness for sharing with the world. To do this, click the 'Create Video' button in the top-right corner to generate the video preview.
Upon rendering the video, a progress bar window will appear, showing the current status. To continue editing the video or work on other drafts, simply click the 'Keep Editing' button to close the window. After closing the window, the video's rendering progress will be conveniently displayed in the top-right corner for your reference:
-1.png?width=688&height=325&name=mceclip0%20(3)-1.png)
-1.png?width=614&height=273&name=mceclip1%20(3)-1.png)
Note: Editing the video at this stage will not impact this version (refer to the What's a version? section below). Any changes made here will only become visible after you click 'Create Video' again, generating a second version with its own progress bar.
Canceling Render
If you have begun to render your video preview and found something in your draft that needs to be changed, you can easily cancel the rendering process. To do this, click on the render progress bar, then select the ‘Cancel Render’ button within the larger progress bar window. Once the necessary updates are completed, simply re-render to apply the changes.

Completed Preview
After the rendering process is complete, a window will appear displaying your video preview. Take this opportunity to play the video and ensure you're satisfied with the outcome before proceeding further.
-1.png?width=688&height=441&name=mceclip2%20(2)-1.png)
If the current outcome doesn't meet your expectations, you have the flexibility to keep editing and create better versions until you are completely satisfied with the result. To do so, simply click the 'X' in the top right-hand corner of the pop-up.
Rest assured that you can generate as many video previews as you need without any deduction of minutes from your account. Your creative process is unrestricted and focused on achieving the best outcome.
What’s a Version?
With every click on 'Create Video', a new version of your project takes shape. To track the rendering progress of different versions, hover your mouse over the Play icon (located at the top right) and click on 'Show Older Versions'.
If you've generated multiple versions, you can conveniently preview each one and publish your desired version by selecting 'Export' next to the chosen version. This allows you to manage and share various iterations of your project with ease:
.png?width=467&height=718&name=mceclip6%20(1).png)
How to Share or Publish Your Video
Hour One videos can be distributed in various ways, including sharing via a link, embedding on a website, or downloading for offline use and distribution. These videos can be shared on social media platforms, websites, or via emails.
Actions That Do Not Use Minutes:
- Copy Link:
- Copy the URL of your video to share it.
- Optionally, password-protect your link for added security.
- Share:
- Share your video directly to social accounts (LinkedIn, Facebook, Twitter, WhatsApp).
Actions That Use Minutes:
- Download:
- Download the final video to your device for offline use or distribution.
- Embed:
- Embed the video across multiple platforms or in your emails.
Note: Publishing actions like downloading and embedding WILL deduct minutes from your account. For more information about account minutes, refer to our Account Minutes article.
Copy Link
To easily share the video online, click on the ’Copy Link’ button:

A small window will pop up displaying your video’s unique sharing URL. Copy it by clicking 'Copy Link':

Password Protected Link
You can add an extra layer of security to your shared videos by setting a password. This feature ensures that only those with the designated password can access and view the content. It’s a game-changer for protecting sensitive information and ensuring your videos are seen by the right eyes.
- Safeguard your videos and control access to sensitive content.
- Ideal for sharing internal training materials, company updates, and other proprietary information.
- Share videos securely with a specific audience by providing them with the unique password.
After selecting the ‘Copy Link’ publishing option, select the drop-down menu and click ‘Password Protected Link’. Then input your desired password and select ‘Protect’. If you don’t remember the password or need to change it, simply select the ‘Override Password’. Once satisfied, select the ‘Copy Link’ to send out the new password-protected share link.
Remember to share the password with your colleagues or relevant party!

Share
Hour One makes it easy to share your videos straight to your social accounts. Hover over the ‘Share’ button, then choose the desired social account you wish to publish your video.

Download
Once you’ve created your video, click on the ‘Download’ button within the pop-up window of the completed video. You'll have the option to choose the desired file type (MP4, WebM, or MOV) and select the preferred resolution (Full HD (1080p) or HD (720p)). This way, you can tailor the video to your specific needs and ensure optimal quality for your chosen platform.
-2.png?width=688&height=439&name=mceclip0%20(4)-2.png)
.png?width=415&height=318&name=mceclip6%20(2).png)
Embed
Another option is to embed the final video directly into your webpage, or LMS platform. To generate your video’s embed code, click the ’Embed’ button.
.png?width=688&height=439&name=mceclip1%20(4).png)
A window will pop up allowing you to select various options for your embedded video. Select the options you want to be applied (if any at all), and click 'Copy Embedded Code'.
-1.png?width=688&height=317&name=mceclip2%20(3)-1.png)
Now you can paste this link anywhere where embedding videos is permitted.
Embed in Email
The Embed in Email option will copy and email embed format to your computer's clipboard, which you can then paste to the email software of your choice. You can find it by going to the ‘Share’ button, then selecting ‘Embed in Email’. This is located in the Share option as it does not use up minutes.
.png?width=688&height=391&name=mceclip3%20(1).png)
.png?width=357&height=120&name=mceclip7%20(1).png)
.png?width=416&height=411&name=Untitled%20(15).png)
The link embedded in the video's thumbnail will be available after the email is sent.
Quick Sharing
Another easy way to share your most recently generated version of your video is to select the Share button in the top right-hand corner of the editor. Once selected, you will be able to choose your desired publishing option.
.png?width=546&height=393&name=mceclip4%20(1).png)
Need any help with Creating & Publishing? Send us a message.